
What it does. Puts your logo at the top of every invoice, proposal, and report you send, so your paperwork looks like yours and not like a form letter.
When you’d use it. Once, when you set up your account, before the first proposal goes out.
Add your logo
- Click your profile icon in the top right, then click Settings.
- You land on Business Location. Scroll to the Logo field.
- Click Choose File and pick your logo. A PNG or JPG works, and a transparent PNG is fine.
- Pick your Brand Color while you’re here. It colors the headings on your invoices and the buttons in the emails your clients get.
- Click Update Location.

Check it
Open any event, go to the Billing tab, and open an invoice or proposal. Your logo sits in the top left, and your brand color runs through the headings.
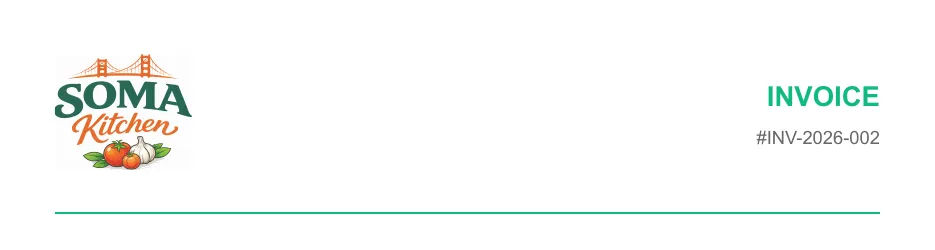
What you’ll see. Your logo on every invoice, proposal, and report you generate from now on. Anything you already sent keeps the version your client received, so send a fresh copy if you want an old document to carry the new logo.
If you skip the logo, we print your business name at the top instead, so your documents still look finished.